Based on your business needs and the tasks you need to perform in various windows, you may find you would be more efficient if you could add one or two fields to an existing window. You can create user-defined fields or pull information for a specific field you want to add and append them to standard windows without affecting the integrity of the original window or its associated files.
You can append, or attach, fields to the right, left, or bottom of the current window. You cannot append fields without creating the fields or screen first using the User-Defined Screen Designer.
Before adding fields, consider how much space exists on the current window. The fields you add append to the bottom of the window and the system may truncate other parts of the window if there is a lot of information to display, such as the Vendor Maintenance window.
Note: As of Release 8.7.2, this functionality is available only for Customer Maintenance, Product Maintenance, Vendor Maintenance, and Branch Maintenance.
To append a user-defined field:
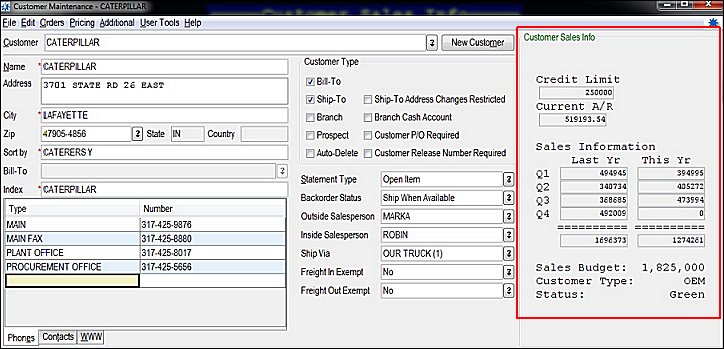
Display the window to which you want to append additional fields.
From the User Tools menu, select Attach User Defined Screens to display the User Defined Screen Attachments.
Select the area you want to add the fields to:
Left User Defined Screen - Appends fields to the left-hand side of the window.
Right User Defined Screen - Appends fields to the right-hand side of the window.
Bottom User Defined Screen - Appends fields to the bottom of the window below all standard fields.
Note:There may be pre-defined buffers around the fields you add because they are coming from Eterm-defined screens. This can affect how your standard fields display and how the window resizes.
In the UD Screen ID field, enter the identifier for the fields you want to add, such as HAJO.BR.SOLAR.
In the Screen Key field, select the data type to populate in the field, such as ACTIVE. This selection is used to pull data in from the file used for the screen you are attaching.
Click OK to save your changes and exit the window.
For example: